Preparing for scene study isn't about reading the scene over and over. It's a three-stage process: structure the script so you can actually work with it, run a focused analysis before you read aloud, then build your off-book plan backwards from the class date.
Most students rush to memorization first — that's why lines drop under pressure. The text wasn't anchored to an understanding of what's happening in the scene.
Here's a repeatable workflow for every assigned scene, starting from the moment you get the text.
Step 1: Get the Script Into a Format You Can Work With
Most scene study assignments arrive as a PDF, a photocopy, or a plain text file with no structure. Before you do any analysis, you need the script in a format where you can filter by character, add notes that stay with the text, and jump directly to any scene.
If you're working from a photocopy, transcribe your scene into a plain document. If you have a PDF, use a tool that parses it into structured dialogue — so you can filter by character from the start, instead of scrolling through the full document to find your lines.
If you have a PDF, HitCue's Automatic AI parsing turns it into navigable acts, scenes, and character-labeled dialogue in seconds — so you can filter to your lines immediately without scrolling. → Import your scene in HitCue
Once the script is structured, assign your character. That single step unlocks everything downstream: Character focus view for your lines only, scene notes attached directly to the text, and the Blackout mode drills you'll need later in the process.
Before you move to analysis, confirm you have:
- [ ] The full scene — your partner's lines included, not just yours
- [ ] Your character identified and assigned
- [ ] A note system that travels with the text, not a separate document
Working from an unstructured or incomplete script slows every step that follows. Fix it at the start.
Step 2: Run the Analysis Before the First Read-Aloud
Scene study class expects you to arrive with decisions made — not to discover the scene in front of everyone. Analysis is where those decisions happen, before you read the scene aloud for the first time.
Work through these four questions for every scene. Write the answers directly into the script — not in a separate notebook.
1. What does your character want in this scene?
State it as an active verb, not a state of mind: "I want to convince her to leave before he gets back" rather than "I want to feel safe." A tactical want drives behavior. A feeling doesn't.
2. Where are the beats, and what triggers each turn?
A beat is a unit of action — it ends when something shifts: a new tactic, a new piece of information, a change in power. Mark each turn in the text with a brief label.
Original example (apartment lease scene):
- Beat 1: Persuasion — "You know we can't afford this on our own."
- Beat 2: Guilt — "You promised you'd stay through at least the summer."
- Beat 3: Threat — "Then I'll have to tell them what actually happened."
Each beat turn is a tactical pivot. Marking them in the text tells you exactly when and why your character shifts — so the change isn't arbitrary when it happens under pressure.
3. What does your character know — and what are they missing?
Every scene contains an information gap. Find where your character is acting on incomplete information. These moments are often where the most interesting performance choices live, and they tell you what your character is afraid to discover.
4. What's the emotional temperature at the start, and where does it land?
Be specific. "Cautiously hopeful" at the top, "quietly resolved" by the last line. The emotional arc is your map for how to build the scene — vague labels like "sad" or "angry" won't help you in the room.
The Drama School scene preparation guides cover each of these steps in more depth — including how to connect your analysis choices to what actually happens in class.
After you've answered all four questions, do a single read-through aloud — not as a performance, but as a check. You're confirming that your decisions survive contact with the full text before you start memorizing.
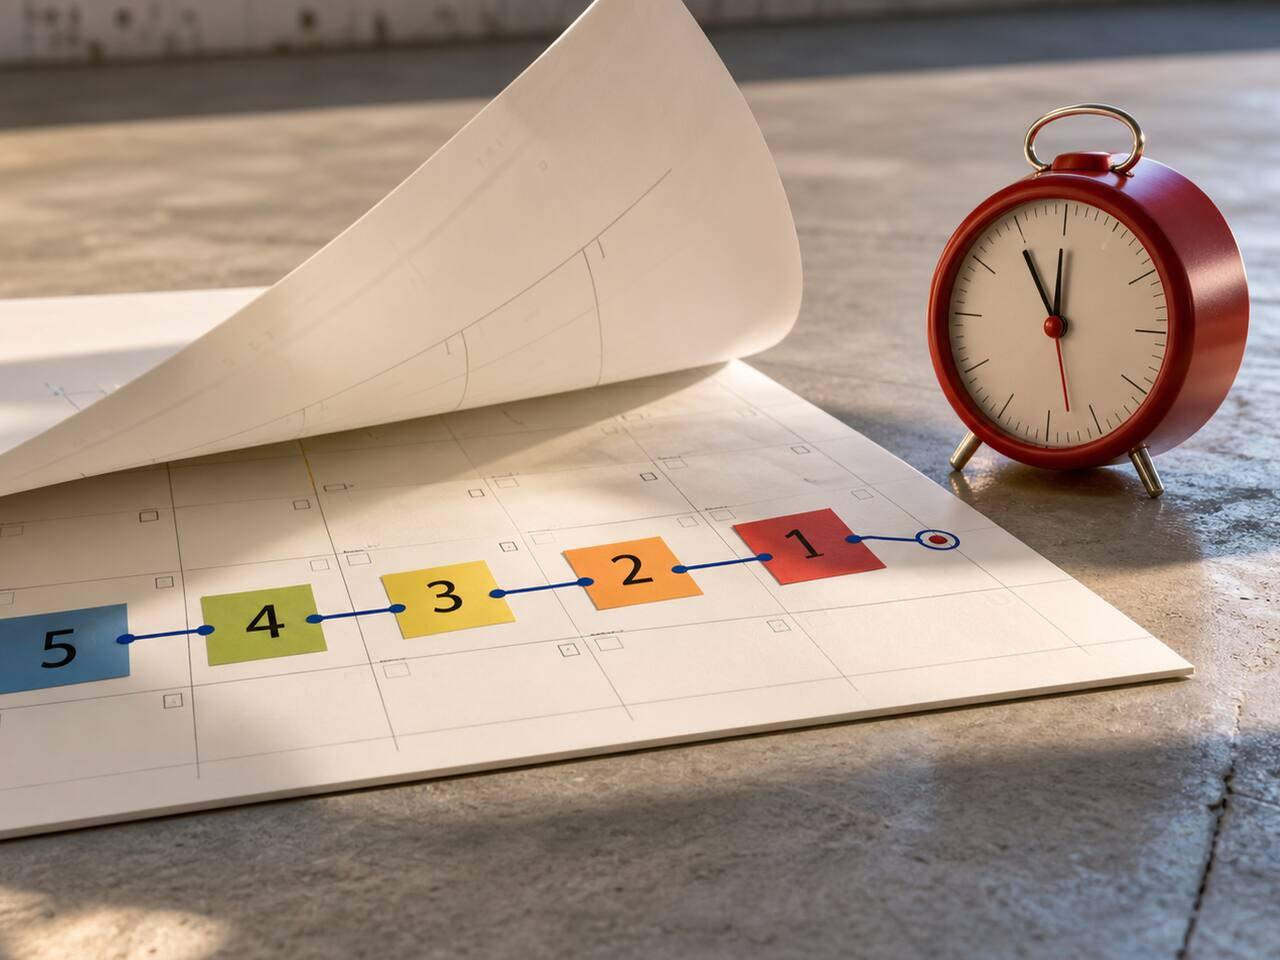
Step 3: Build Your Off-Book Timeline From the Class Date Back
Once the analysis is complete, plan when you'll be off-book. Always work backwards from the class date — not forwards from today.
Standard timeline for a 5–10 day window:
| Days before class | Goal |
|---|---|
| Day 7–10 | Analysis complete. Scene read aloud once. Lines not yet memorized. |
| Day 5–6 | Rough memorization. Run lines with the script in hand, cue-line by cue-line. |
| Day 3–4 | Off-book for your sections. Test without the script. |
| Day 1–2 | Run the full scene off-book. Identify and fix any drops. |
| Class day | Decisions made. Lines secure. Ready to play. |
The critical rule: don't start memorizing until the analysis is done. If you learn the words before you know what your character is doing, you'll be reciting text — not playing an action. The memorization phase should confirm what you already understand, not replace understanding.
Use cue lines to anchor memorization — your partner's last word or phrase before each of your lines. This ties your text to the conversation, not to a position on the page.
On days 3–4, test without the script. Use a cover sheet, a partner, or a Blackout mode drill where your lines are hidden one at a time. When you drop a line, note exactly where in the beat structure it falls. A drop at a beat turn usually means the decision isn't clear enough yet — go back to the analysis, not just the words.
Do it in HitCue
- Automatic AI parsing: turn a class scene PDF into character-labeled dialogue before you start making choices, so your prep time goes into the work instead of formatting.
- Character focus view: keep your assigned role in front of you while you connect lines to objectives, beats, and partner cues for class.
- Blackout mode: use your final prep days for a clean class-readiness test: cue, speak, reveal only when a line drops, then mark the weak exchange.
Import your scene and run your first Blackout drill on days 3–4. → Download HitCue