Start from the deadline, not from page one. Most actors open the script and begin reading — which feels productive but gives you no way to know if you're on track until it's too late. An off-book rehearsal plan built backwards from the calendar tells you what to memorize this week, what to consolidate next week, and when to run full scenes. Without it, you're guessing until opening night.
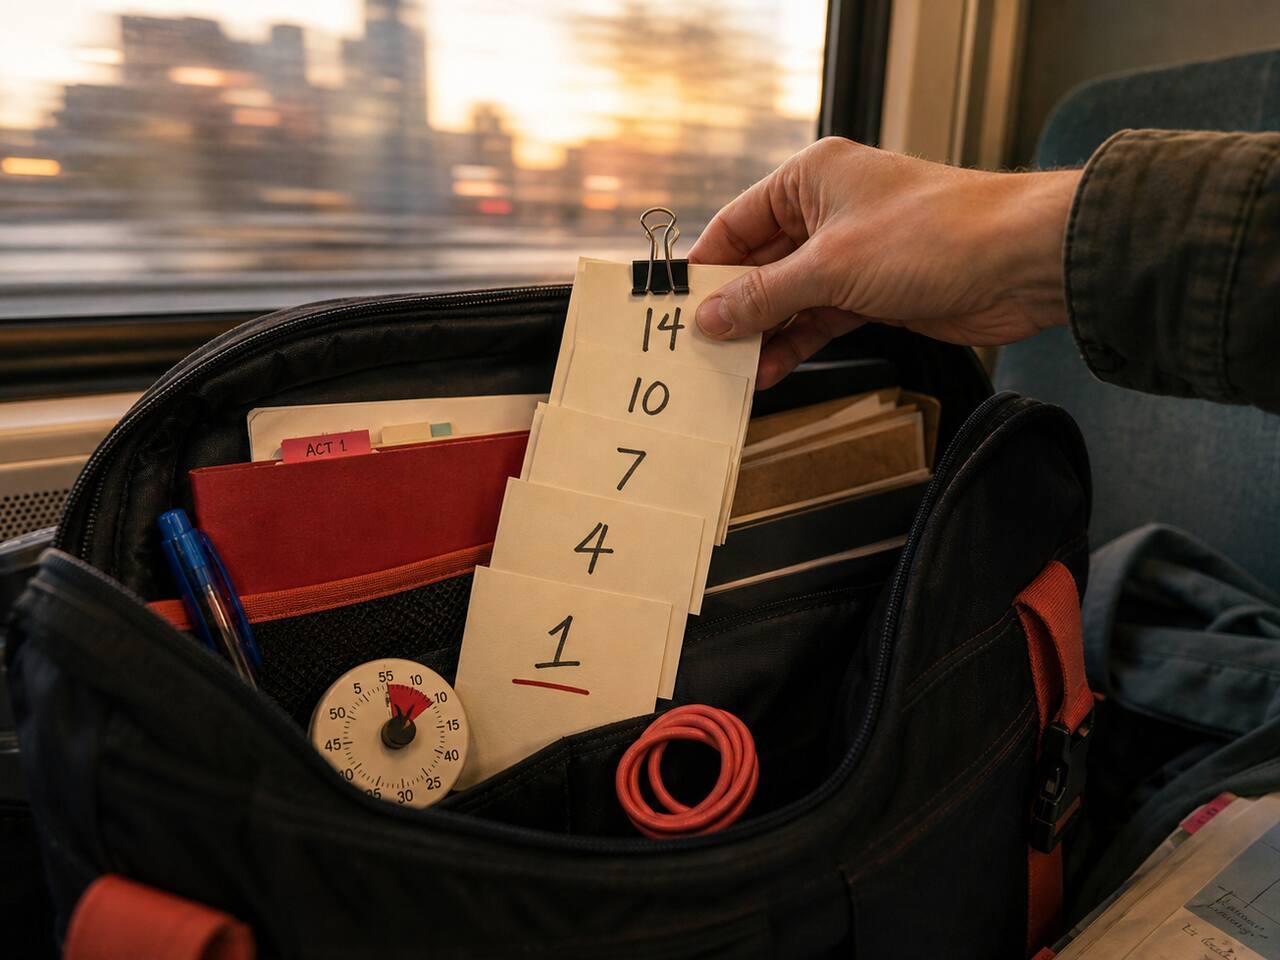
Step 1: Lock In Three Dates Before You Open the Script
You need three fixed points on the calendar before anything else.
- Off-book deadline — the date your director expects you to work without the script. If no date was given, set it yourself: two weeks before opening night is the minimum.
- Stumble-through date — the first run-through where you're attempting off-book. Set this one week before your off-book deadline. This is your internal test, not a public one.
- Today — how many days you have between now and your deadline.
Write all three down and count the days. That number is your budget. Everything else is allocation — which scenes get which days, and in what order.
If you skip this step, you'll spend the first two weeks in a false sense of progress and the last week in crisis.
Step 2: Divide the Script by Weight, Not by Page Count
Page count is a poor proxy for difficulty. A dense page of short exchanges takes longer to fix than a half-page monologue you can chunk logically. Sorting by pages puts you in trouble.
Instead, mark each of your scenes by three factors:
| Factor | High difficulty | Low difficulty |
|---|---|---|
| Line density | Short overlapping exchanges, fast cues | Longer speeches with room to breathe |
| Cue dependency | Many entrances triggered by other characters | Solo sections or near-monologues |
| Emotional load | High-stakes scenes with pressure | Neutral or expository scenes |
Go through your scenes once and mark each one: heavy, medium, or light. First instinct is usually right. Don't overthink it.
Heavy scenes go first in your plan. This is the part most actors get backwards — they save the hard material for when they feel "ready." By then, there's no time left to fix what breaks.
Step 3: Assign Scenes to Weeks (Working Backwards From the Deadline)
Here's the core logic: fill in your calendar from the deadline backwards, not from today forwards.
Example (original):
You have 28 days until off-book deadline. You have 12 scenes — 3 heavy, 5 medium, 4 light.
| Week | Days | Focus |
|---|---|---|
| Week 4 (final) | Days 22–28 | Full runs and consolidation only — no new memorization |
| Week 3 | Days 15–21 | Light scenes + second pass on heavy scenes |
| Week 2 | Days 8–14 | Medium scenes + first pass on heavy scenes |
| Week 1 | Days 1–7 | Heavy scenes — first contact, trigger drilling, weak-line isolation |
Week 4 is locked before anything else: no new material enters that week. It exists only to stabilize what you've already drilled. Build everything else around that constraint.
The result: your hardest material gets the most total days of work, and you don't arrive at the final week with unfinished scenes. That's the whole point of building backwards.
Step 4: Build Each Week's Day-by-Day Structure
A weekly plan without daily structure collapses after day two. Assign specific work to specific days so each session has a clear task.
Weekly template:
- Day 1–2: First pass on the week's scenes — read aloud, identify which lines feel uncertain and which cues feel weak
- Day 3–4: Cue-first drills — take the line immediately before each weak line, speak it aloud, then respond without looking
- Day 5: Blackout pass — cover your lines entirely, work through the scene one line at a time, tap to reveal only after answering
- Day 6: Full scene run without the script — note every line that breaks or hesitates
- Day 7: Repair session — return only to the lines that failed on day 6
Adjust this template around your actual rehearsal schedule. A scheduled run-through with the full cast replaces day 6 automatically — use it as your test, not your study session.
Whatever you track this in — a notebook, a spreadsheet, a progress table — note which scenes you've drilled and where recall is still breaking. The repair session should target real gaps, not scenes you already fixed two days ago and remember fixing. Confidence is not data; your last failed pass is.
If you have less than four days in a given week due to scheduled rehearsals, compress the template: cut day 1–2 reading time, keep the blackout pass and repair session. The test and the fix are non-negotiable. The reading is just preparation for them.
Track Each Scene With Four States
"I've been working on it" is not useful data. "Act 2, Scene 3 has two weak cues and one blank line" is.
Track every scene through four states:
- New — not yet drilled
- First pass — read aloud, lines partially known
- Drilling — cue drills running, memory consolidating
- Solid — passed a full blackout drill with no errors on two separate days
The two-day requirement on "solid" is not arbitrary. Memory is context-dependent. A scene that feels clean on Tuesday may break on Thursday under rehearsal pressure, or after two days without touching it. Two clean passes on separate days is the minimum signal that it actually holds.
Keep a simple table — one row per scene, one column per state. Update it at the end of each session. It takes under two minutes and removes all guesswork about where you stand.
When you sit down to study and you're not sure where to start: look at the table. Work the scenes furthest from "solid" that your weekly plan assigns to this week. Don't drift back to what already feels comfortable.
Do it in HitCue
- Character statistics: track which scenes you've drilled and where recall is still breaking — so your plan reflects where you actually are, not where you think you are
- Blackout mode: turn each calendar block into a pass/fail check for the scenes assigned that day, so the plan updates from evidence instead of confidence.
- Character focus view: keep the day's assigned scenes limited to your role, which makes short schedule blocks usable even when the script is heavy.
Import your script, mark your heavy scenes, and run your first Blackout drill on the scene you've been avoiding. → Try HitCue